

1. Soak your 100% wool yarn in a mixture of cool water, a squirt of wool wash or baby shampoo, and a 1/2 cup of white, distilled, vinegar for about 20 minutes. You may need to squish the water through the yarn a little to make sure it is saturated.
All during your dye-ing, make sure you NEVER rub the yarn or wring it. It will felt and stick together, and you will not get the results you want.
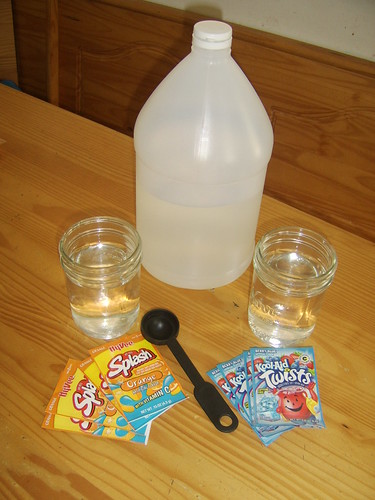
2. While the yarn soaks, mix up your dye. I use 2 cups water, 1 -2 packets of unsweetened koolaid and 1/8 cup (or two Tablespoons) of vinegar per color. The brighter the color, the more koolaid you want to use.

3.Squeeze as much water out of your yarn as you can, and lay it out in a glass 9x13 pan. Only one skein per pan, or you won't be able to get good saturation all the way through the yarn.
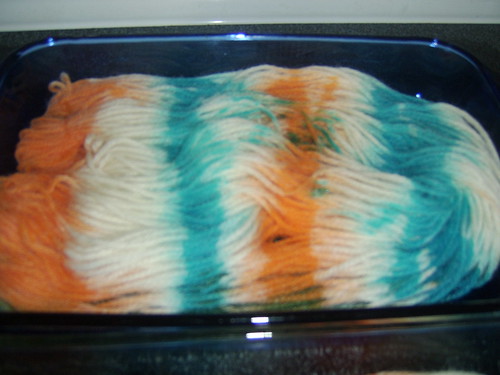
4.Pour your koolaid dye all over your yarn. You can be as creative or orderly as you want, but since you are using a pan, the dye will mix along the bottom, and you will get some really cool colors.
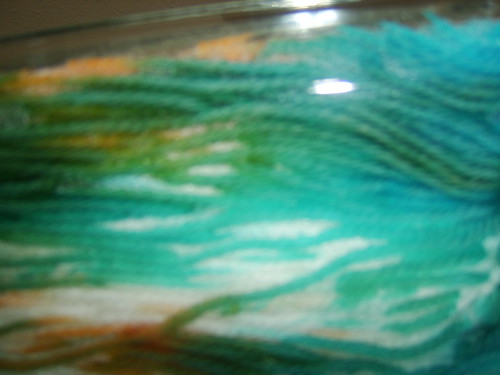
This is the bottom of the pan. See how the color is mixing along the bottom?
5. Cover the pan tightly with tin foil, and place in a preheated 250 degree oven. Set the timer for 30 minutes. Let it bake. When the timer goes off, turn off the oven, and just leave your yarn to cool. After a while (I usually leave it in for a good hour or so) you can take the pan out to finish cooling on top of the stove.

6. Hang your yarn to dry (I use my bathtub). If you squeeze enough water out with your hands, you can roll it up in a towel and press out even more water.
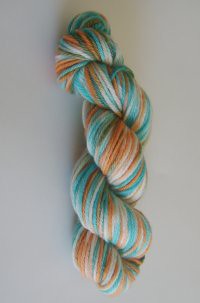
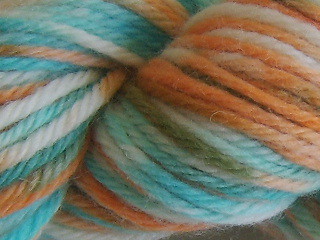
When your yarn is dry, and it has been reskeined (rewound into a new hank) you can see your beautiful results! Happy stitching!
Submitted by Shannon of Gillyweeds

No response to “Dyeing wool yarn with Kool-Aid”
Post a Comment